
In celebration of this blog tour, Jocole patterns are 25% with the code "FallBlogTour" through October 26, 2015.
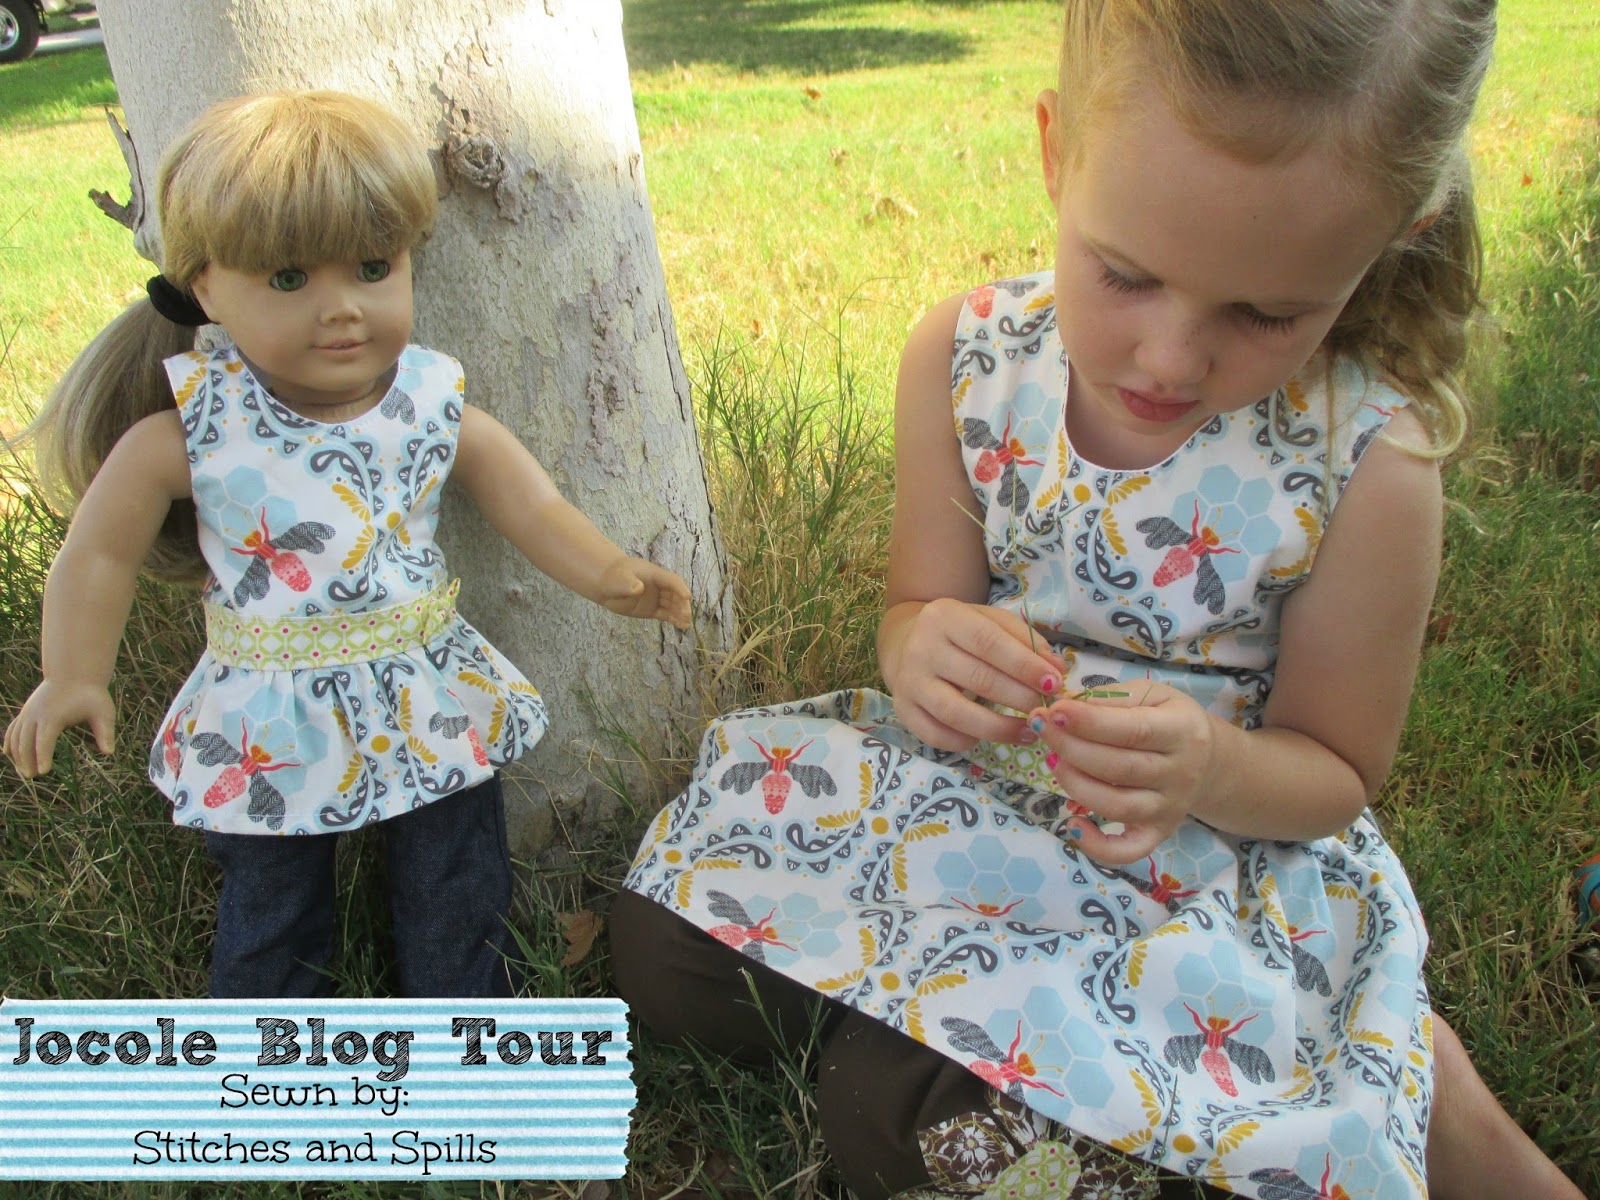
A few years ago I learned about Jocole patterns and quickly fell in love with the style and that they are perfect for everyday wear. For the tour, I decided to make the Endless Dress with options from the included Vol. 1 Add-On Pack and Essential Pants capri length. While browsing the website, I was amazed at two main details: so many patterns include the matching doll pattern AND there are free tutorials to add details to the garment. On to the details (feel free to click on any image to view larger):

For the top, I decided to use the Endless Dress with options from the included Volume 1 Add-On Pack. Volume 2 can be purchased here for even more options! The endless dress pattern has options that are truly endless. There are options for different bodice lengths, a variety of sleeves, tunic or dress length, etc... For this outfit, I chose sleeveless, tunic, with a waist length bodice and a modified sash. I really loved having a blank slate full of options all in one pattern! I'm not going to lie, it took me a few days to think through all of the options to decide exactly what I wanted, but that was part of the fun!

I did a size 5 knowing that it would be a little big (she is a 4 year old that measured on the chart as a size 5 length and size 18 month waist~ this pattern does show how to modify the pattern for kiddos that don't measure exactly on the charts, BONUS!) but I wanted there to be room to layer for our California winter. Even though it is a little large, the armholes don't look off in size or anything, it is darling!

Although I chose to add the sash, I modified it slightly so there wouldn't be a bow in the back. Sister typically won't chose outfits with a back bow because they poke her when she sits, but I just love the look of the sash on the front of an outfit. We compromised by me making a fake sash by doing the same method to the back of the dress as I did to the front of the dress.
Side note about the sash on the sleeveless bodice: Make sure to read through the entire pattern in the order you will be sewing, to make sure you know when to jump to the add-ons. I skipped ahead and forgot to add my sash before sewing up the side seams on the bodice, so I ended up stitching it in place on top once I realized what happened.
Sister has loved the heart buttons in my button jar and has been asking for me to add them to an outfit for at least a year. However, not many patterns need only two buttons. While sewing this outfit, I realized I could mix and match the buttons for a fun little touch and love how it turned out!


For the doll version, the pattern has instructions on how to do snaps or working buttonholes, but
Sister prefers Velcro for easy playing. So I added Velcro on the back.


For the bottoms I used the Essential Pants and did the capri length. This pattern comes with the options to do shorts, capris, or pants. The capris and pants option are slightly fitted with a slight flare and it has a full elastic waistband.

In the pattern, there is a link to a tutorial for making faux front pockets which add a fun little touch! There is also a tutorial for adding belt loops that can be found here. I really love patterns that offer extra options to personalize an outfit! Just like the endless dress, this pattern also includes a doll version. I had time to cut out the pieces, but did not have time to sew them up.

I started working on this outfit the same day that I bought a brand new machine! This is my first time owning a new machine and I have been loving my Babylock Molly! When I purchased the machine, I also bought the foot to do free motion applique. This flower was my first time playing with that sewing machine foot and I am in love!

If you have fallen in love with these patterns, be sure to stop by Jocole to pick up your own copy. Use the code "FallBlogTour" through October 26, 2015 for 25% off your purchase.
Lately I have been working on sewing through my stash and this was the perfect opportunity to use coordinating prints that I have had for a few months. I purchased all of the fabrics for this outfit from Whimsical Fabric. The main print and coordinates are all part of the Art Gallery Sweet As Honey line, the colors are so vibrant and the feel is simply amazing! The capris are made using Fabric Finders Chocolate Twill.

To enter to win one free pattern of choice from Jocole, enter by completing the Rafflecopter below. Giveaway runs October 24-26, 2015. Good luck!
a Rafflecopter giveaway


