Wednesday, November 11, 2015

A Vision to Remember Blog Tour- Easy Peasy Rag Quilt


Let me start by saying: My name is Jona and I am addicted to hand made blankets.....It's a serious addiction friends! I decided to use some of the blankets as props for the blog tour and then realized just how many we have scattered throughout our home. This is the first quilt I have made in 10+ years, and today's blog tour quilt is the only one I made out of all of the blankets we own.


Now on to the Easy Peasy Rag Quilt by A Vision to Remember. I recently learned about A Vision to Remember during a recent blog tour and fell completely in love with the style of patterns offered. While most of the patterns are rag quilts, there are also patterns for rag aprons, rag purses/bags, and fabric! This shop has fantastic customer service, quick turn around, and the owner is very quick to respond to questions on Facebook. **Be sure to check out the giveaway at the end of this post! You can enter to win a $40 gift card to A Vision to Remember! Good luck!**


This quilt really lives up to it's name, Easy Peasy. It is a surprisingly quick quilt to assemble overall. However, the fabric cutting in the beginning and the clipping at the end are a little time consuming. But with a Netflix marathon, it goes by quickly. 

The quilt pattern is only for the squares. I added the blue strips along the top and bottom because I wanted a very play friendly blanket for Brother and Sister to use and we just needed a little extra space. Other than that, I followed the pattern as written.


Now I am usually sewing children's clothes and the pattern and sewing techniques do vary slightly from clothing patterns. The pattern is mainly numbered steps with only two diagrams throughout the entire quilt pattern. However, from the quilt books/patterns I have looked at in the past, this seems to be pretty common. The instructions were very well written and understandable. The font that they were written in, was a little prettier than I like for directions, but it is easily read. Also, since it is all squares and rectangles, there are only measurements and no pattern pieces. Which is a feature I seriously love because I can cut several pieces at once with my mat, ruler, and rotary blade.


It did take me a little bit to get used to sewing with the seams on the outside. It goes against what my hands and brain wanted me to do at first. After a bit, it was easy to get everything sandwiched and sewn correctly. Also, I watched one of the videos put out by A Vision to Remember on You Tube and learned some new tricks to chain piecing and how to use little fabric scraps in between the pieces to minimize thread waste and to speed up the sewing process. Yeah for learning new techniques!


Insert bragging moment: Look how nicely my seams match up! I am never that accurate!


 Now, I wanted this to be a fun quilt for the kids to use on a daily basis. And boy did we in just 24 hours. I just love the thought that this quilt will be full of memories and stories!


I have been holding onto these fabrics fabrics for so long and just waiting for the perfect project. This quilt turned out just how I imagined and made a pretty nice dent in my sewing through my stash goal. The backing fabric is what I bought when I was pregnant with Sister almost 5 years ago with every intention of making her a cozy quilt. I am so in love with the Anne Kelle designs and have several different prints. The Color Me fabric is a newer line that I purchased from Whimsical Fabric Shop and I just couldn't wait to put it to use in a fun and different way.


We had fun after dinner one evening coloring the color me fabric. Sister thought this was a great idea.....brother had other ideas about how to spend our family time. **See that door by me?? Hubby installed both china cabinet doors onto my sewing cabinet this week, total happy dance!!**


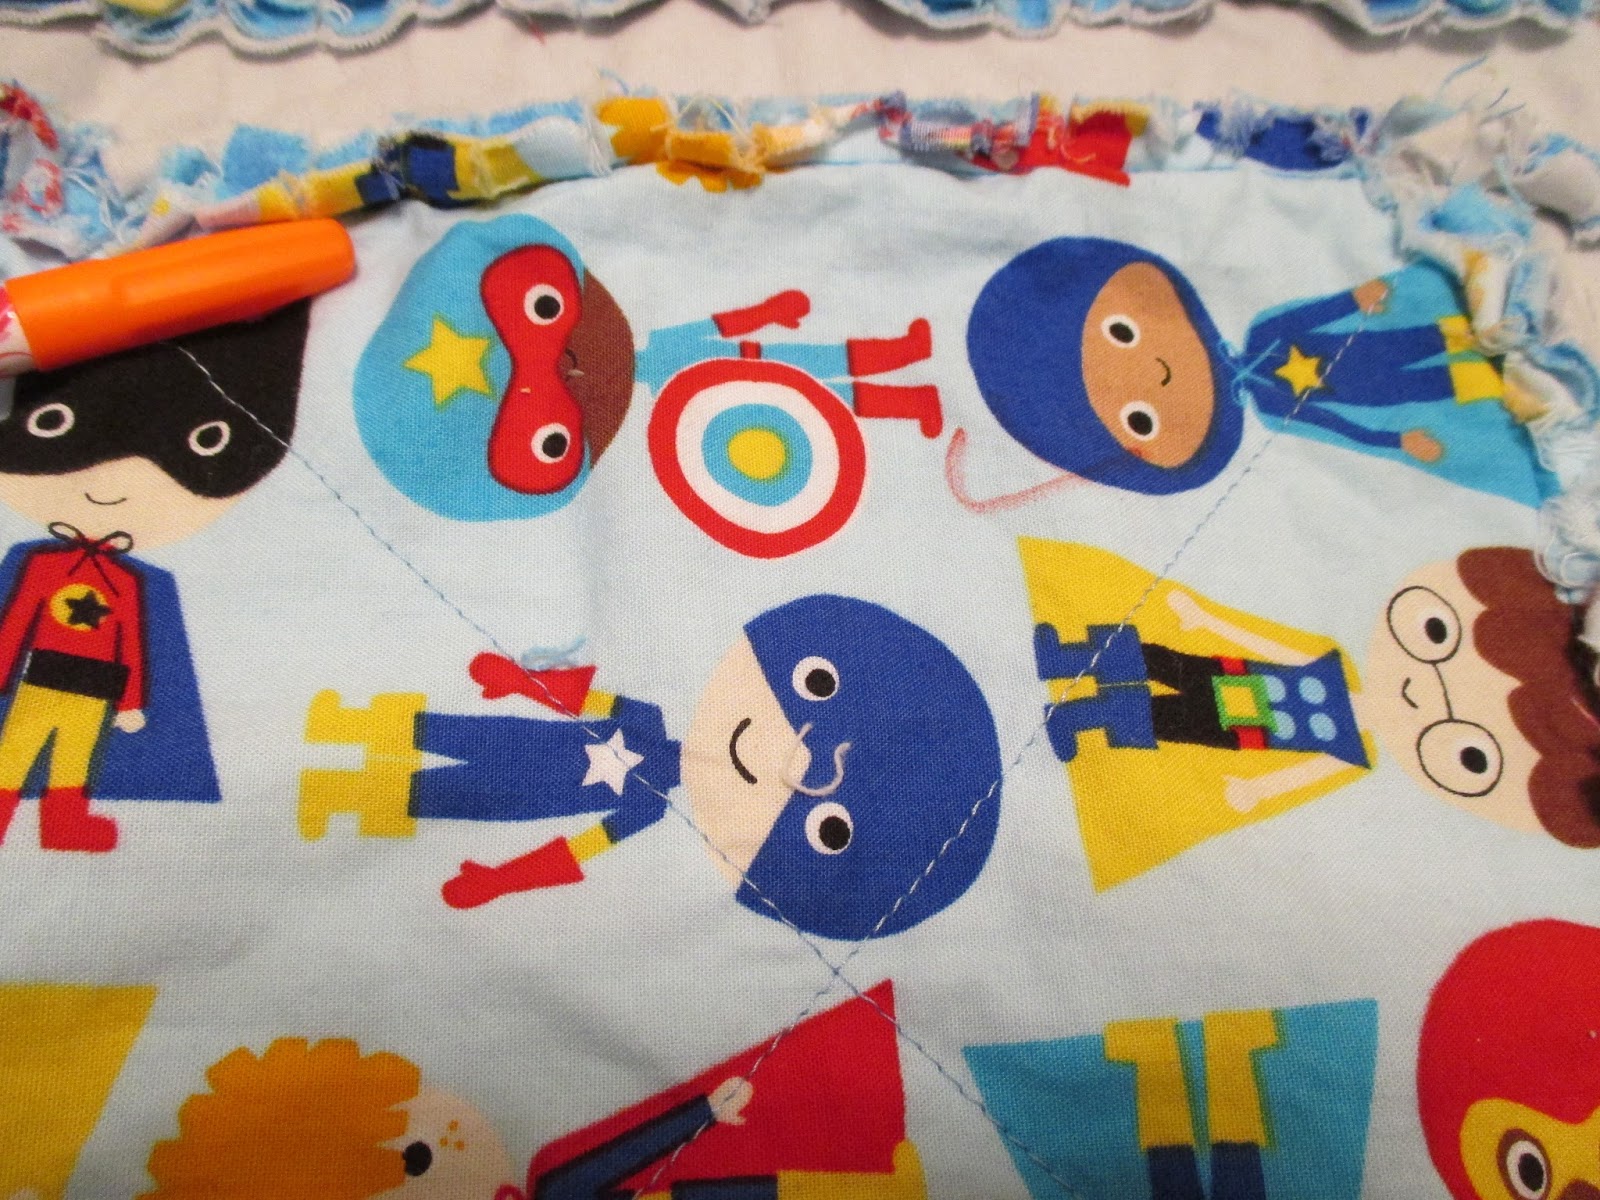

Whoops! Brother really wanted to color the superheros and would sneak an attempt an second he got. It all adds to the uniqueness of the quilt.


Brother believes that no artwork project is complete without hand prints.


And Brother figured out that my toes are SUPER ticklish! That stinker!


These two are so close, that even though they have their own beds, they are always sleeping in the same bed!

Every morning I try to spend some time doing my devotional and the other morning was especially rough so while the kids played, I pulled out my devotional and journal and started reading. Sister came up with the blanket, her Bible, journal, and a pencil and asked if she could spend some time with Jesus with me. My heart was doing a complete happy dance!


You can get 25% off the pattern using easypeasyblogtour coupon code Here
11/9/15
11/10/15
11/11/15
11/12/15
Enter to win a Gift Certificate to avtrboutique.com.

Saturday, October 24, 2015

Jocole Blog Tour- So Many Choices!

A few weeks ago, a friend mentioned that there was an upcoming blog tour that was looking for bloggers to join and I jumped at the opportunity to be a part of the Jocole Blog Tour. This is my first time taking part in a blog tour and it has been so much fun! At the end of the post, there is a giveaway you can enter for a chance to win one pattern of choice from the Jocole website.

In celebration of this blog tour, Jocole patterns are 25% with the code "FallBlogTour" through October 26, 2015. 


A few years ago I learned about Jocole patterns and quickly fell in love with the style and that they are perfect for everyday wear. For the tour, I decided to make the Endless Dress with options from the included Vol. 1 Add-On Pack and Essential Pants capri length. While browsing the website, I was amazed at two main details: so many patterns include the matching doll pattern AND there are free tutorials to add details to the garment. On to the details (feel free to click on any image to view larger):


For the top, I decided to use the Endless Dress with options from the included Volume 1 Add-On Pack. Volume 2 can be purchased here for even more options! The endless dress pattern has options that are truly endless. There are options for different bodice lengths, a variety of sleeves, tunic or dress length, etc... For this outfit, I chose sleeveless, tunic, with a waist length bodice and a modified sash. I really loved having a blank slate full of options all in one pattern! I'm not going to lie, it took me a few days to think through all of the options to decide exactly what I wanted, but that was part of the fun!


I did a size 5 knowing that it would be a little big (she is a 4 year old that measured on the chart as a size 5 length and size 18 month waist~ this pattern does show how to modify the pattern for kiddos that don't measure exactly on the charts, BONUS!) but I wanted there to be room to layer for our California winter. Even though it is a little large, the armholes don't look off in size or anything, it is darling!


Although I chose to add the sash, I modified it slightly so there wouldn't be a bow in the back. Sister typically won't chose outfits with a back bow because they poke her when she sits, but I just love the look of the sash on the front of an outfit. We compromised by me making a fake sash by doing the same method to the back of the dress as I did to the front of the dress.

Side note about the sash on the sleeveless bodice: Make sure to read through the entire pattern in the order you will be sewing, to make sure you know when to jump to the add-ons. I skipped ahead and forgot to add my sash before sewing up the side seams on the bodice, so I ended up stitching it in place on top once I realized what happened.

Sister has loved the heart buttons in my button jar and has been asking for me to add them to an outfit for at least a year. However, not many patterns need only two buttons. While sewing this outfit, I realized I could mix and match the buttons for a fun little touch and love how it turned out!


For the doll version, the pattern has instructions on how to do snaps or working buttonholes, but
Sister prefers Velcro for easy playing. So I added Velcro on the back.


For the bottoms I used the Essential Pants and did the capri length. This pattern comes with the options to do shorts, capris, or pants. The capris and pants option are slightly fitted with a slight flare and it has a full elastic waistband.


In the pattern, there is a link to a tutorial for making faux front pockets which add a fun little touch! There is also a tutorial for adding belt loops that can be found here. I really love patterns that offer extra options to personalize an outfit! Just like the endless dress, this pattern also includes a doll version. I had time to cut out the pieces, but did not have time to sew them up.


I started working on this outfit the same day that I bought a brand new machine! This is my first time owning a new machine and I have been loving my Babylock Molly! When I purchased the machine, I also bought the foot to do free motion applique. This flower was my first time playing with that sewing machine foot and I am in love!


If you have fallen in love with these patterns, be sure to stop by Jocole to pick up your own copy. Use the code "FallBlogTour" through October 26, 2015 for 25% off your purchase.

Lately I have been working on sewing through my stash and this was the perfect opportunity to use coordinating prints that I have had for a few months. I purchased all of the fabrics for this outfit from Whimsical Fabric. The main print and coordinates are all part of the Art Gallery Sweet As Honey line, the colors are so vibrant and the feel is simply amazing! The capris are made using Fabric Finders Chocolate Twill.


To enter to win one free pattern of choice from Jocole, enter by completing the Rafflecopter below. Giveaway runs October 24-26, 2015. Good luck!


a Rafflecopter giveaway

Friday, October 23, 2015

Brooklyn Boho Pattern Review (Stash Sewing)

These past few weeks have been quite busy with several fun sewing projects including sewing two versions of the Brooklyn's Boho Dress by Izzy and Ivy.

Every once in a while I sign up to test a pattern. It changes up my sewing routine and pushes me to meet a deadline. The teacher in me also enjoys the proof reading and pre-reading the directions and fabric requirements. There is a chance that the finished project may be the wrong size or not be very wearable, but I have yet to have that issue.


So, let's start with the actual pattern test version. I was assigned a size 3 dress length. Even as a test version, the steps were fantastic and this dress was super quick to sew! It was spot on for her chest measurements. The length was a little short, but I expected that since I was doing a straight size 3 and not modifying for a size 3 width and size 5 length.


This dress also totally passed the preschooler twirl test! I also love the options available for the length, there is a top, dress, and maxi length. Another great thing about this pattern is that it is all rectangle measurements so no printing or taping pattern pieces! The designer also made this dress very fabric friendly so it isn't a fabric hog.


Oh and these details! Look at these darling shoulder ties! They are simple, sweet, and remain tied ALL DAY!!! This would also be a perfect dress with a long sleeve shirt layered underneath for the cool weather that may never come to our California home.....

On to the 2nd dress! My sister recently came home from doing medical missions work in Pakistan for the past 8 months. My sister loves all things patriotic and her welcome home wouldn't be complete without it! So, very last minute, I put together an outfit for each kid. Brother's outfit was done in an evening. Sister's outfit was started Monday morning and I would work on it a little at a time throughout the day as I had a spare moment and had it finished that evening. Yeah for quick sewing projects!

This time I did a size 3 width and a size 5 maxi length. Again I used fabric from my stash and this time it was some adorable glittery fabric. Enjoy the pictures:


Monday, September 14, 2015

Getting Ready For Halloween (Sewing through my stash)

Stash Sewing Post!

Every year I have fun so much sewing for Halloween! I don't care for the scary part of Halloween, but I love the creativity in costumes and the time spent with my little family and friends.

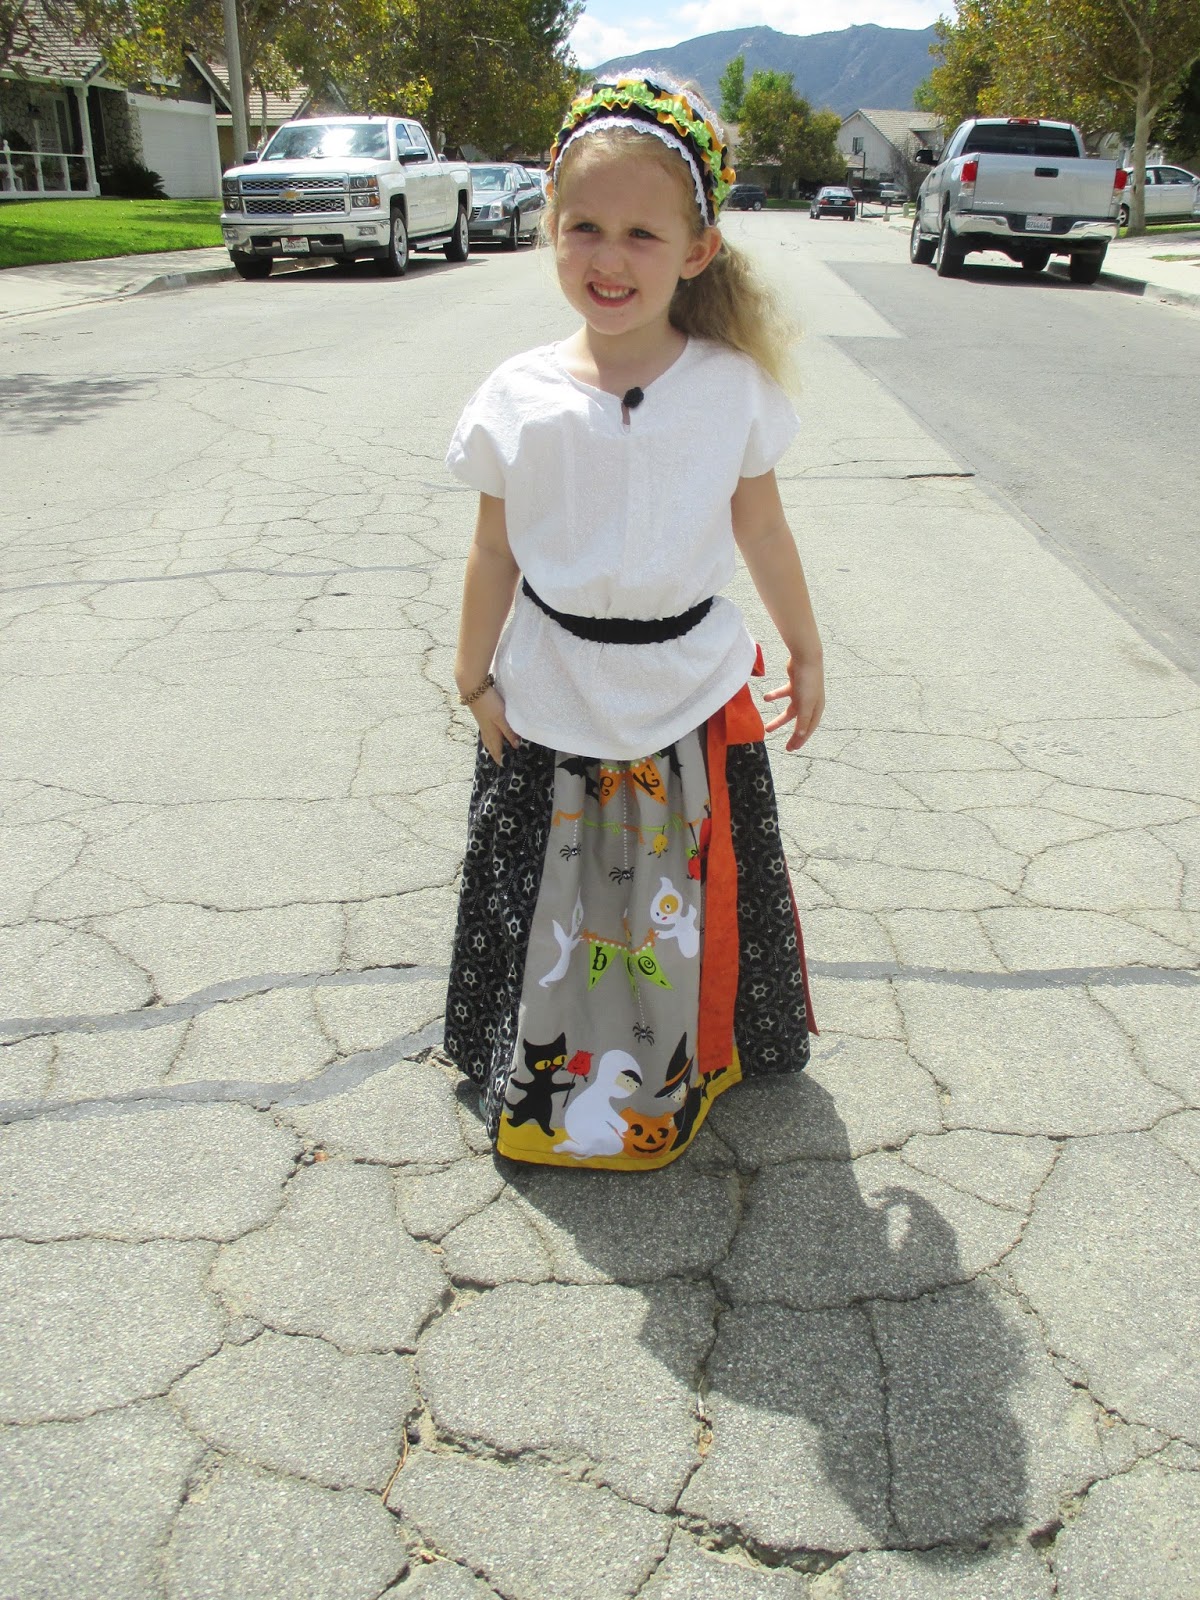
This year for Sister I am working on using up some of my Costume Clubhouse fabric from Whimsical Fabric. I bought this fabric a year or two ago and absolutely love it!

For her skirt, I made the Pink Fig Mimi's Maxi Skirt. For toddlers, the pattern actually is meant to go mid-calf to accommodate their running and playing. However, due to the length of the panel, I lengthened it quite a bit.


I also modified the tie to tie on the side instead of the middle for a fun accent. The skirt directions were clear and easy to follow, the only thing I had trouble with was trying to thread 2" elastic into the waistband, but then again, I am used to dealing with 3/4" elastic or smaller.


Now, in our home, no outfit is complete without a hair accessory! I have fallen simply in love with the look of accessories made with fabric. For her hair, I used the Pink Fig Accessories Pattern. The pattern includes directions and pattern pieces to make a purse, necklace, belt, and headband.


The headband was very quick to sew and was a great way to use some scraps. I didn't make the ruffle as full as most ruffles, just gathered it enough to give it a little poof. The lace is simply darling and is from a local antique store that I love to browse for lace, buttons, and other beauties! The ruffle rac is from Whimsical Fabric and I'm not going to lie, I own a yard or two of almost every color she has in stock. It is the perfect accent to so many of my projects.

The headband ties in the back which seems to be perfect for little heads, it stayed on much better than traditional headbands.

Oh, and as soon as we got outside, Sister found a ladybug. So, the ladybug joined in on the photo shoot:


Tuesday, September 1, 2015

Sewing Through My Stash Part 1

Remember that very pretty fabric I posted about that I bought at a quilt shop in Big Bear? Well, I finally got around to sewing it up and it turned out beautifully for my 30th birthday party with a few of my favorite girls!


Here is the fabric and the pattern that I had from August 2014. The pattern is actually one I borrowed from my Mother In Law and am just now getting it back to her a year later. Oops! (Moral of the story: Don't loan things to me if you want them back in a timely manner)


Isn't is just lovely?!?! My teapot is a plain glass one that goes on the stove. This makes it so happy!


It has two layers of batting between the inner and outer fabric and it kept our water warm through all of The Music Man!


Oh! I just love the way our snack table ended up!


The next day, Sister also wanted a tea party. So we had one after church while Brother was napping.
Since it was about 100 degrees, we had iced tea instead.


I know I said I was going to limit the fabric I bought until I sewed through more of my stash, but I just couldn't resist the adorable fall fabric for my kids Thanksgiving outfits that Whimsical Fabric and Me offered during a Wacky Wednesday deal.


I didn't get many pictures of my birthday gifts, but I did get this book that had been on
my wishlist for quite some time! The giver also wrote a special note on the title page (I just love
handwritten notes in books)!


Another friend surprised me with an Oliver + S paper pattern that I really wanted! So special!